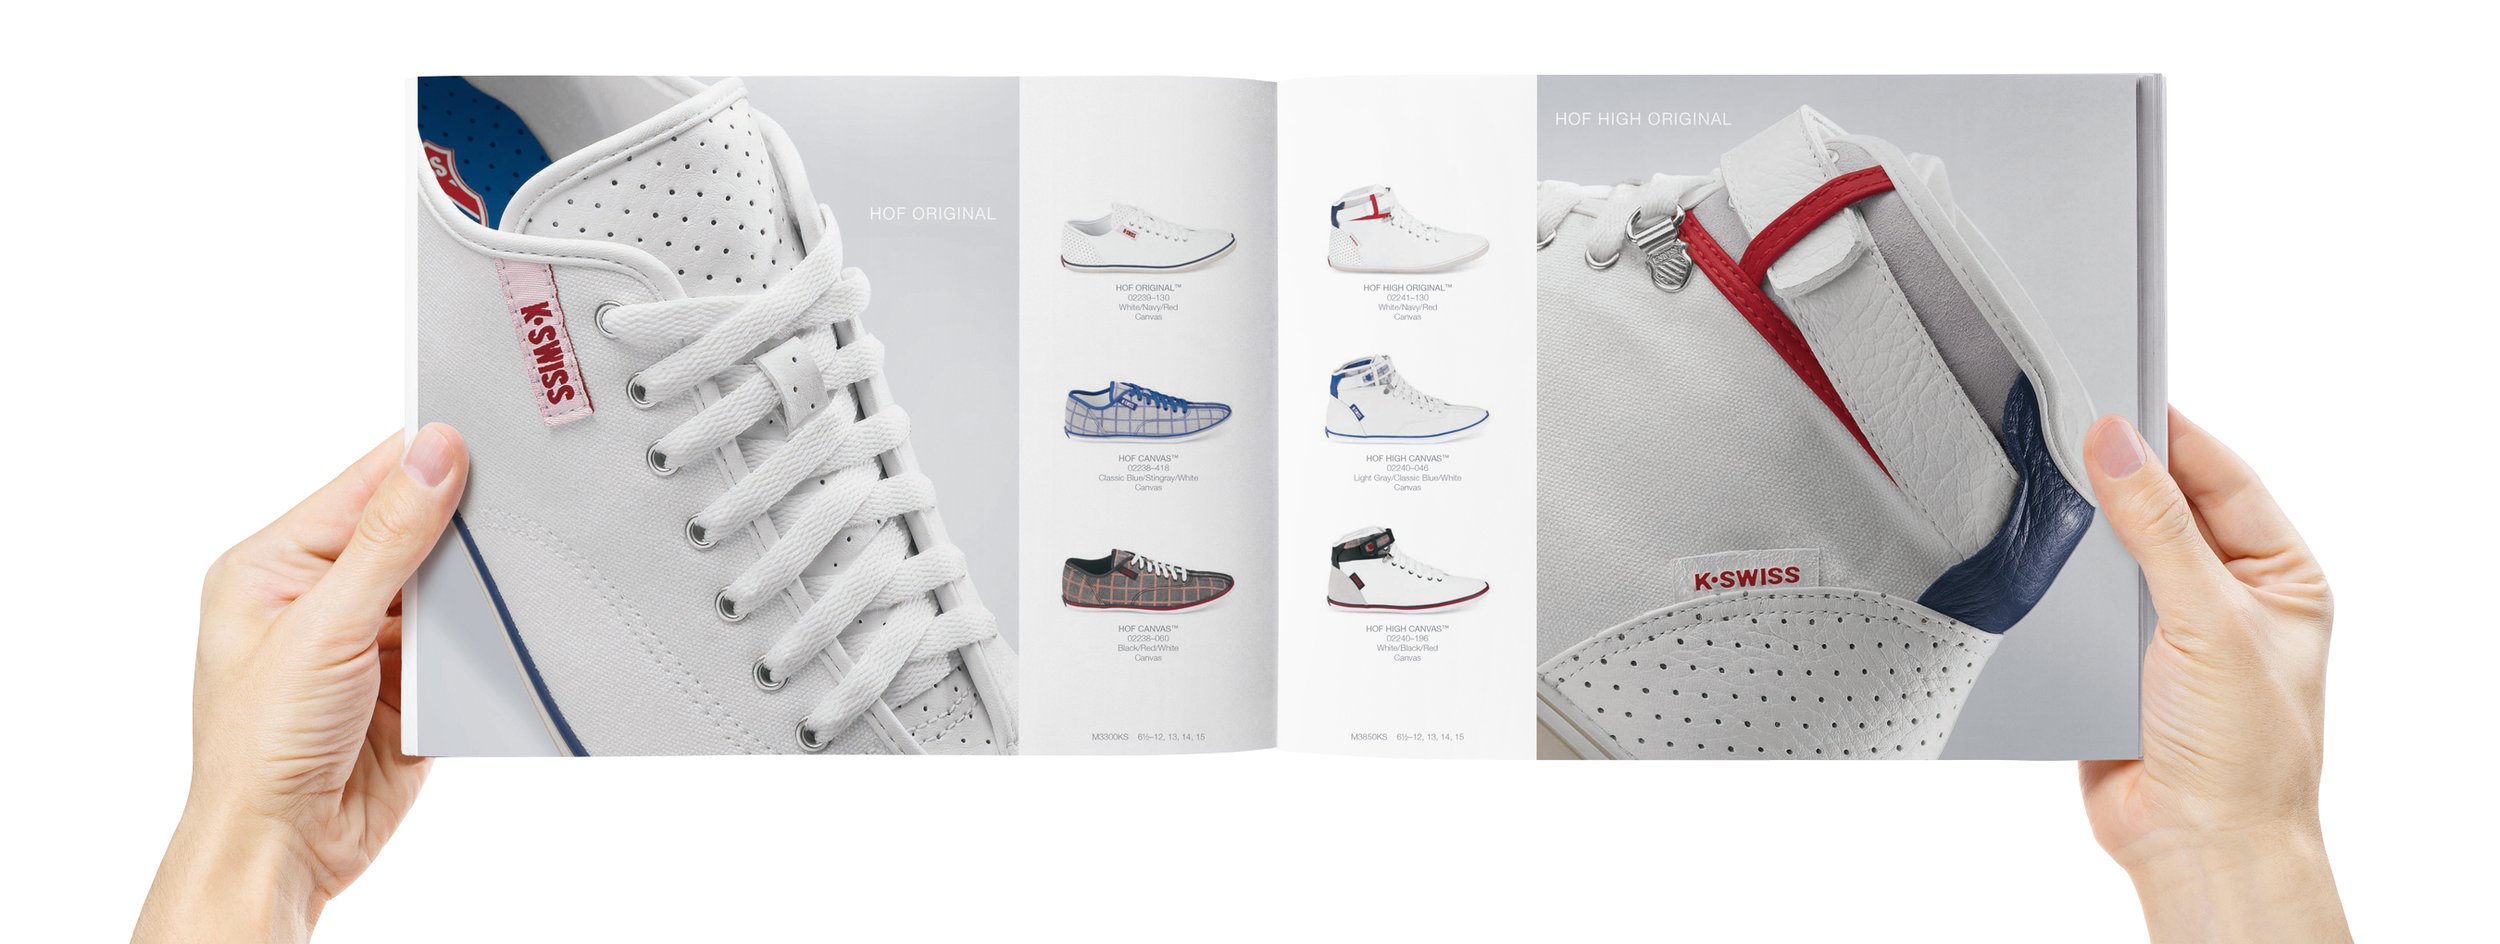
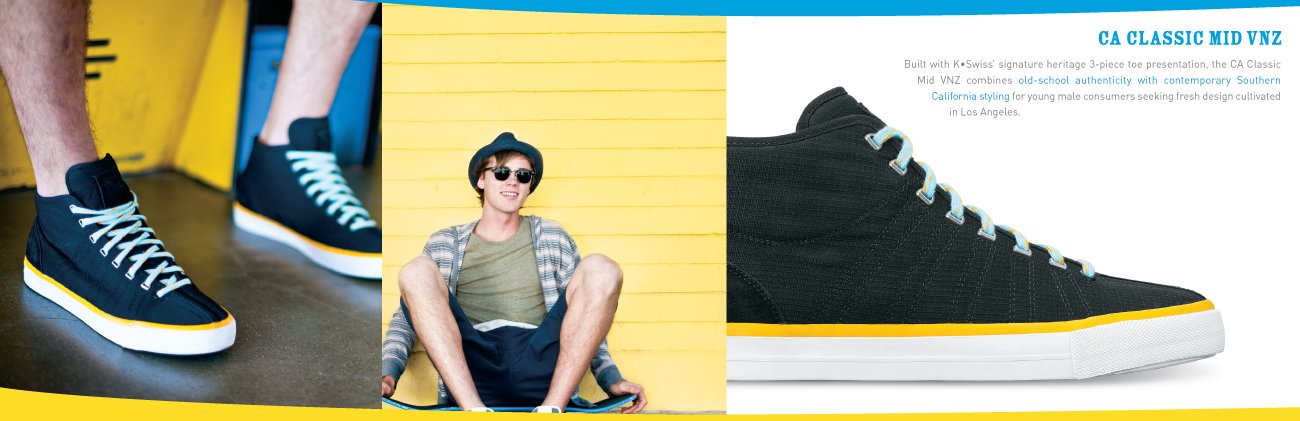
K•SWISS Footwear
CATALOG DESIGN & ART DIRECTION
There are literally too many to show. I designed in-house for K•Swiss from 1998-2013 and laid out 120 catalogs. Per year: (4)Footwear, (2)Apparel, (1)Tennis, 1 P.O.P., and tons of other items like 20ft wide banners, in-store graphics, packaging updates and a ton more. Here are some of my favorites.
All Product Photography: Scott Hirko hirkophoto.com
Retouch editors Julie Chow, Maria Verdugo and Sam Lin of Chameleon Images.
-
Whenever creating a catalog I recommend starting from scratch where you can set up the framework, folder structure, and know that you’ll be creating all the assets correctly.
When doing a book as big as the ones I did you’ll always be up against a few challenges, so your biggest asset is going to be patience. Take the time to lay out your plan. Prepare and test some possible solutions for photography angles of the product in order to make them more visible. Start organized and end organized. This will help when it comes time to gather and package up all the assets for press and for web. (For web you’ll need to re-export and convert all the items into their own WEB assets folder in RGB and the printing ones as CMYK. Call me up if you ever want to chat about this and other nerdy details. -
Organize your photo folders on a network so the necessary people involved in or outside your company can access. Keep this circle tight and only for people who need in-and-out access.
But here is a more modern way of doing it since none of the new stuff I’ll talk about existed back then. We’d have to VPN into network systems and all kinds of weird Syncing over night had to happen. It was a slow but fast process.
NEW WAY:
ON Dropbox or Box or Google DriveFolder: RAW FILES
Folder: APPROVED
Folder: TO RETOUCH
Folder: FOR (Your name) to REVIEW
Folder: FINAL APPROVEDYou give the right people access only to the folders they need to worry about. You would move the images from one folder to another. Inside each one you’d move the images in their own folder named Day 1, Day 2. and so on. Screen shoot your list going into each folder and use it as a check list for hunting down any missing files. Anyone can make a mistake.
-
Keep the line moving. And double checking you shot everything before letting the photographer go is super key because scheduling a second shoot after the fact delays the entire process and the photographer may be booked for someone else, somewhere else. Then make sure you have a perfect shot list and cross check with final approved photos to make sure nothing is missing for the final catalog.
-
Triple check your files are named correctly and for the right image.
For the Blade-Light Run II shoe here was the file name:Blade-Light Run II-553W Q113G.eps
Shoe Name/Colorway/Gender/ Quarter/Year/the last letter would varty for internal reasons.
So get a great naming system and match them up to the layout and you’ll always find what you need.
-
Make a Dummy Book. It’s a book made of blank pages in the same count you’re hoping to print at so you can see how each category is going to flow and where you’ll have some spaces for breaks and divider art, etc. Must haves Cover, IFC (Inside-Cover), TOC (Table of Context) Intro, PG1, PG2 and so on, then GLOSSARY or TECH PAGE in my case, SALES INFO (bunch of legal jargon, and copyright line, usually on the last page, Then IBC (Inside Back Cover), then Back Cover. Everything usually has to be Even Pages. You can’t end on an odd number for saddle stitch catalogs (aka stapled edges), unless you’re doing perfect-binding.
Just grab a bunch of Tabloid sized pages and fold it in half. Stable then in the middle, It’s rough and hard to do with too many sheets but bind then somehow and then start writing on the front COVER and turn the page and on the back side of the cover sheet write IBC, and so on. Start roughly penciling in where the products would go with yellow Post-it’s because you’re definitely going to be moving the around a lot. Count it’s and figure out how many fit nicely per page and give yourself room for breaking the categories correctly. More tricks to come on Youtube in the future.